Adding, editing, and removing VLANs
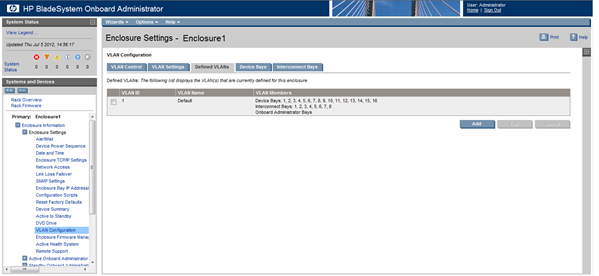
To add a new VLAN, click the Defined VLANs tab, and then click Add.

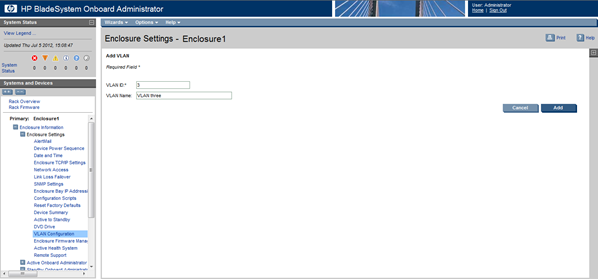
The Add VLAN page displays with two fields: VLAN ID and VLAN Name. The VLAN Name field is optional. The VLAN ID must be an integer between 1 and 4094. If you try to add a new VLAN where either the name or ID matches that of an existing VLAN, an error message appears.

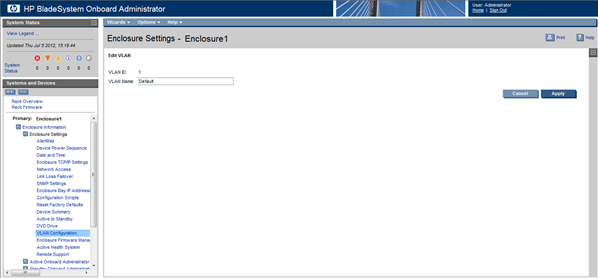
An existing VLAN name can be edited by navigating to the Defined VLANs tab. Select one VLAN, and then click Edit. The Edit VLAN page appears with a field that enables you to edit the VLAN name. The VLAN name is not a required field.

Existing VLANs can be removed from the Defined VLANs page by selecting VLANs and then clicking Delete. Deleting a VLAN moves all of the members into the default VLAN. The default VLAN cannot be deleted.
|
NOTE: Accessing the Active OA through a link-local IPv6 address might not work on all client system setups containing multiple network interfaces. |